5 Smart Kitchen Layout Ideas for a Functional Cooking Space
A well-planned kitchen layout can make or break your cooking space. Ever found yourself bumping into counters or struggling to find room for your favorite appliances? This blog is here to help you avoid those headaches. We’ll guide you through the steps to measure your kitchen accurately and explore different kitchen layout ideas that could work for your space.
If you’d rather leave the heavy lifting to someone else, a full-service kitchen remodeling contractor can take the stress out of the process and give you professional advice to bring your ideas to life.
How To Measure Your Kitchen Design Layout?
Accurate measurements are the foundation of any good kitchen layout. Having the right numbers on hand makes all the difference when creating a functional kitchen floor plan with dimensions. Whether you’re dreaming up a new kitchen design layout or refining an existing one, getting the measurements right sets the stage for success.
1. Gather the Necessary Tools. Before you start, make sure you have the following tools on hand:
- Tape Measure
- Graph Paper or Design Software
- Pencil and Eraser
- Notebook
2. Measure the Walls. Begin by measuring the length of each wall in the kitchen. Start from one corner and measure to the next, recording the length on your sketch. Make sure to measure from wall to wall, excluding any trim or molding.
3. Mark Doors and Windows. Identify and measure the location and size of all doors and windows. Measure from the edge of the wall to the edge of the door or window frame, then measure the width and height of the door or window itself. Mark these on your sketch along with their distance from the floor.
4. Measure the Ceiling Height. Knowing the height from the floor to the ceiling is crucial for upper cabinets and shelving. Measure in multiple locations across the room, as ceiling heights can vary slightly.
5. Measure Fixed Features. Identify and measure fixed features such as outlets, plumbing fixtures, vents, and radiators. Measure the distance from the nearest wall to these features and mark them on your sketch. Don’t forget to note the height of these features from the floor.
6. Consider Appliances. If you’re keeping existing appliances, measure their width, depth, and height. If you’re installing new appliances, use the specifications provided by the manufacturer. Mark these on your layout to ensure proper spacing and ventilation.
7. Account for Countertops and Cabinets. Measure the length and depth of countertops and lower cabinets. Don’t forget to measure the overhang of any countertops. For upper cabinets, measure the space between the countertop and the bottom of the cabinets.
8. Double-Check Your Measurements. After taking all your measurements, go back and double-check them. It’s easy to make a mistake, and even a small error can lead to significant issues in the final layout. Ensure that all your measurements add up correctly and match your initial sketch.
What is the Kitchen Work Triangle?
When exploring kitchen designs and layouts, the concept of the “kitchen work triangle” is a game-changer. The idea is simple: place your sink, stove, and refrigerator in a triangle formation to create an efficient workflow. Each side of the triangle should be between 4 and 9 feet, and the total distance around the triangle should fall between 13 and 26 feet.
Why does this matter? It keeps everything you need within easy reach, cutting down on unnecessary steps and making cooking more enjoyable.
The work triangle is a fundamental principle that can guide you on how to design a kitchen layout that’s both practical and aesthetically pleasing. It ensures that your space is not just beautiful but also easy to navigate. This small design consideration can have a big impact on how your kitchen functions day to day. Below, we’ll explore different kitchen remodel layout ideas that make use of the kitchen work triangle.
Our Favorite Types of Kitchen Layouts
The kitchen work triangle can be incorporated into several popular kitchen layouts to maximize efficiency and functionality. Here are a few layout ideas that make excellent use of the work triangle:
L-Shaped Kitchen
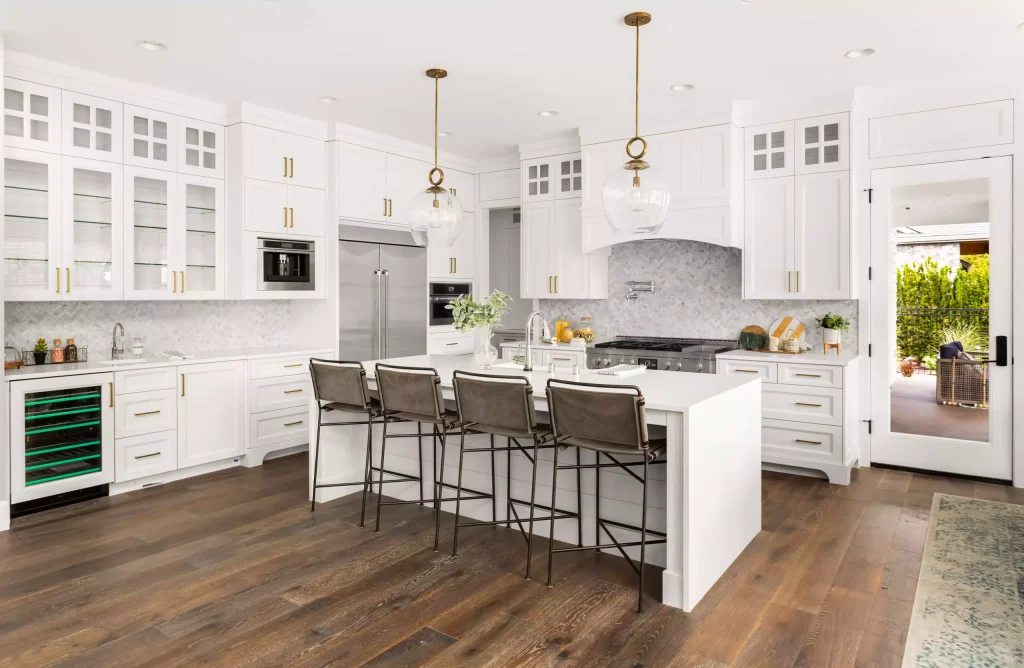
An L-shaped kitchen features cabinets along two adjoining walls, creating a natural work triangle. Place the sink on one wall and the stove and refrigerator on the other. This layout is great for open floor plans and allows for easy movement between workstations, making cooking and cleaning a breeze.
U-Shaped Kitchen
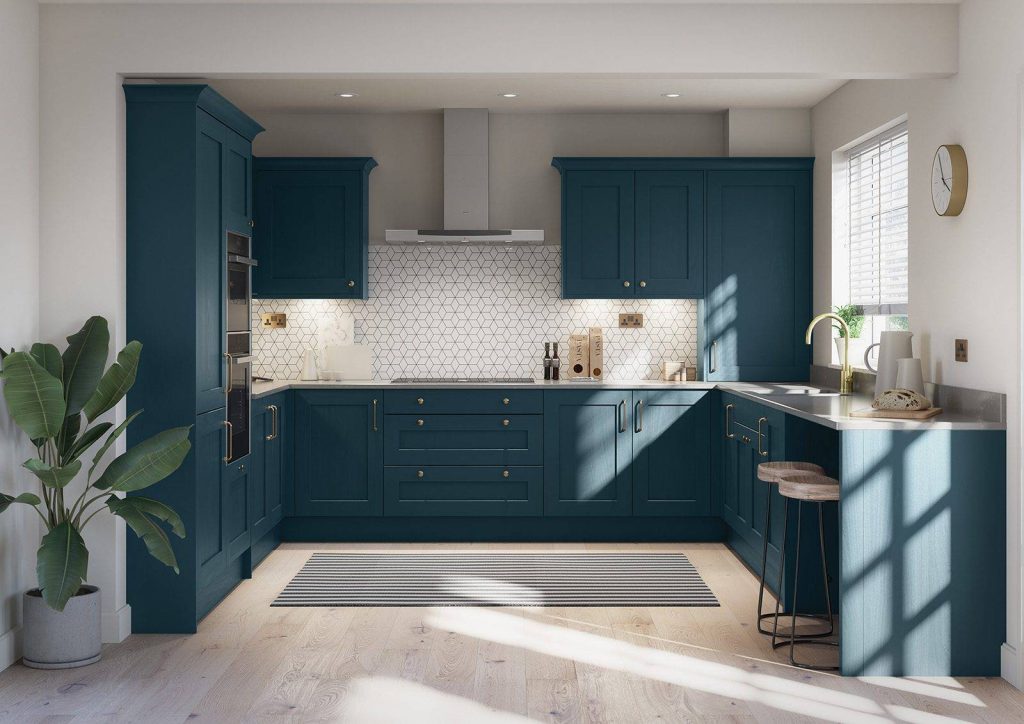
A U-shaped kitchen wraps around three walls, providing ample counter space and storage. In this layout, the sink, stove, and refrigerator each take a side of the “U,” forming an efficient work triangle. This design is ideal for larger kitchens and can accommodate multiple cooks without feeling crowded.
Galley Kitchen
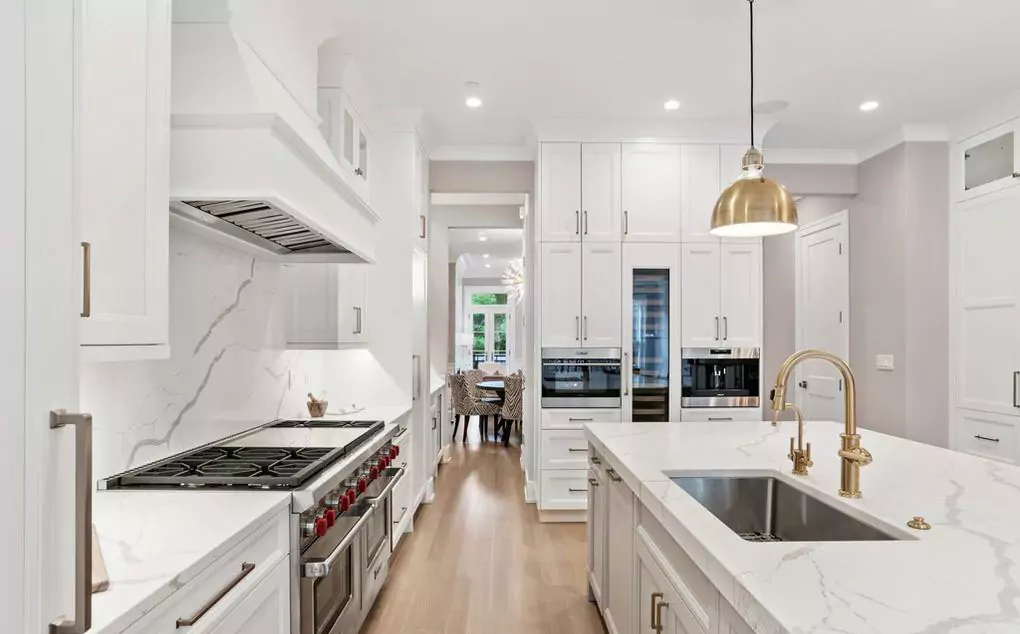
In a galley kitchen, two parallel walls house all the cabinets and appliances. The work triangle is created by placing the sink on one side and the stove and refrigerator on the other. This layout is perfect for small spaces, offering a streamlined workflow with everything within arm’s reach.
Island Kitchen
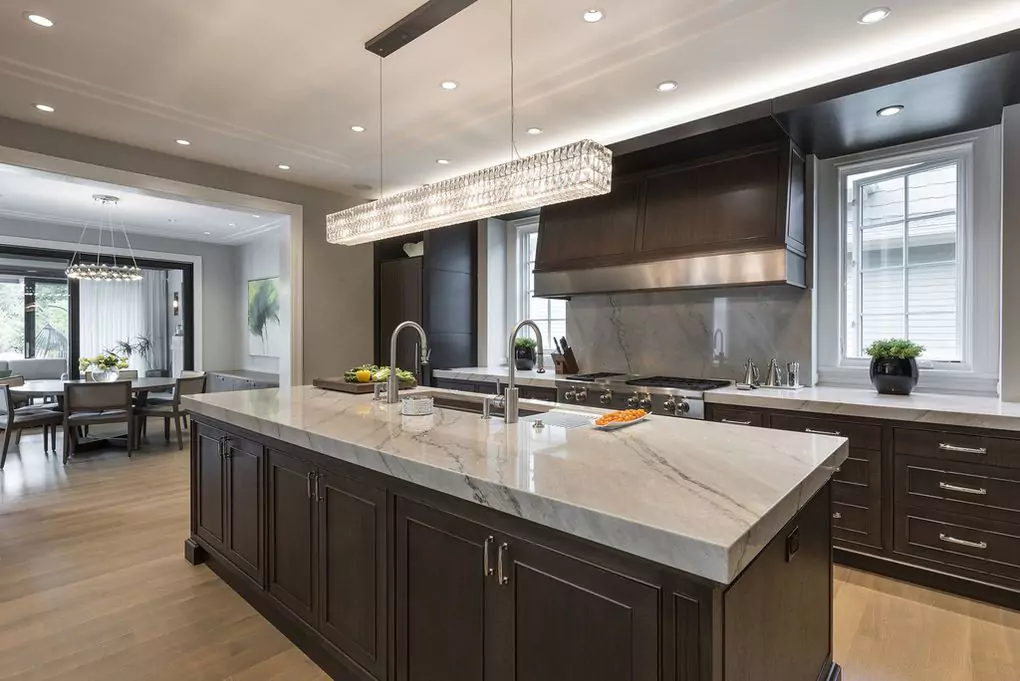
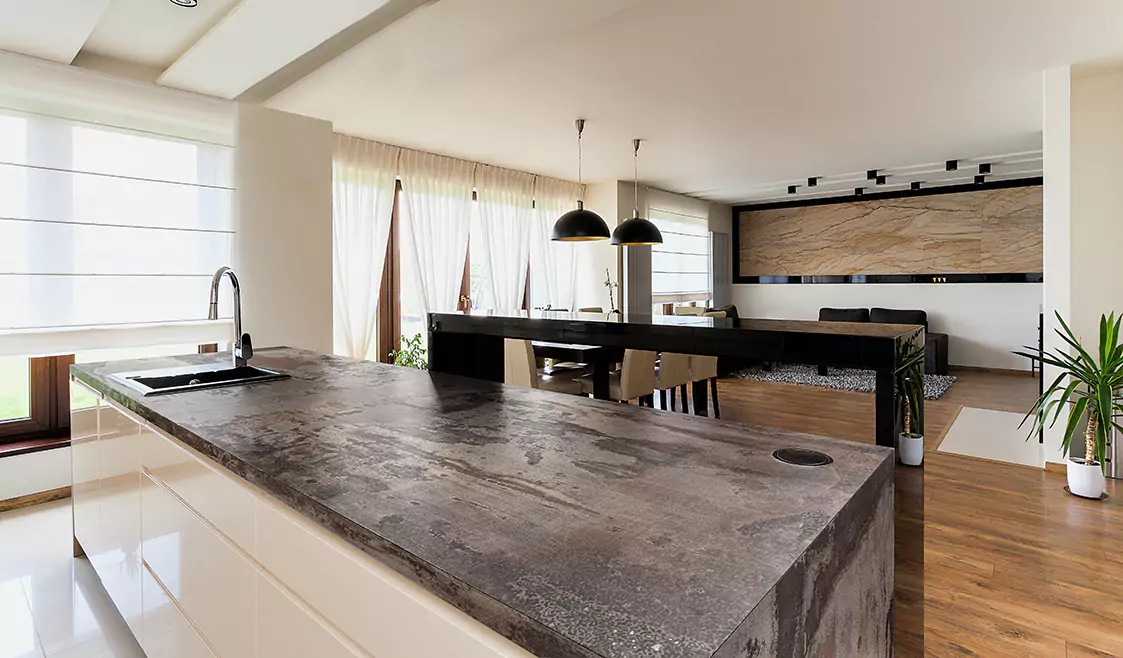
An island kitchen layout can adapt to many different kitchen shapes. If you have an island, consider placing your sink on it, with the stove and refrigerator on the perimeter walls. This setup keeps the work triangle intact while providing additional counter space and storage. It’s a popular choice for open-concept homes, allowing for social interaction while cooking.
G-Shaped Kitchen
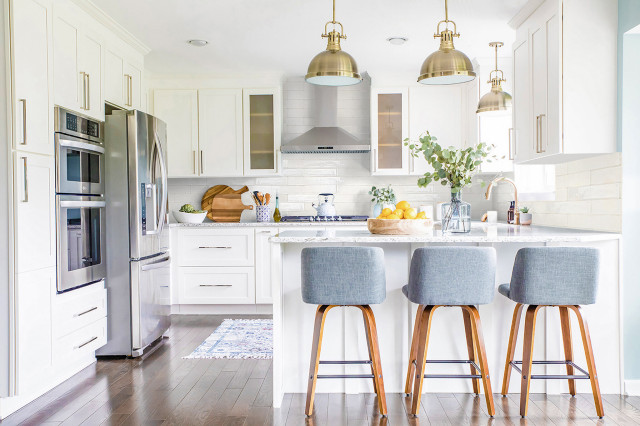
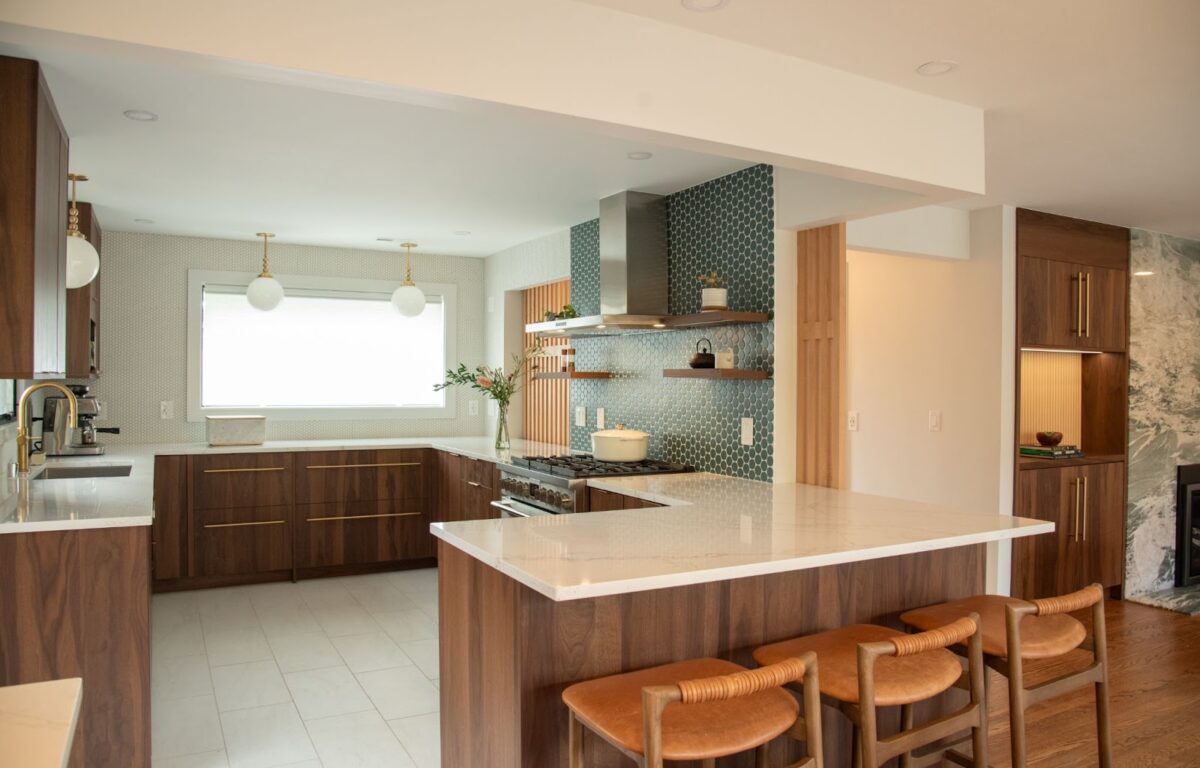
A G-shaped kitchen is similar to a U-shaped layout but with an added peninsula, which can be used as a dining area or additional workspace. The work triangle is easily maintained by positioning the sink, stove, and refrigerator on three separate walls, leaving the peninsula open for other activities. This layout works well in larger spaces and offers plenty of room for multiple tasks at once.
Avoid These Common Kitchen Floor Plan Mistakes
A functional and stylish kitchen design layout requires careful planning, and certain missteps can lead to inefficiencies or aesthetic issues. Here are some common kitchen floor plan mistakes to avoid:
Style and Design Consideration
- Placing the sink near a wall limits countertop space and hampers workflow.
- Positioning the oven or dishwasher in a corner restricts access to nearby drawers and cabinets.
- Placing the oven against a wall exposes it to heat and splatters.
- Installing drawers in a corner obstructs adjacent cabinets and risks damaging hardware.
- Buying appliances too late or choosing incompatible handles creates design and functionality issues.
- Overlooking elbow room leads to cramped and uncomfortable spaces.
Neglecting Workflows
- Misusing worktop space or misjudging height affects usability.
- Failing to plan for sufficient power outlets, plumbing, ventilation, or heating causes major practical problems.
- Skipping rubbish and recycling solutions leads to disorganization.
Communication Pitfalls
- Not consulting experts or communicating poorly with builders invites costly mistakes.
- Forgetting to draw up clear plans and a written agreement that states pricing, schedules, and commitments can result in misunderstandings and delays.
Let Us Design the Ideal Kitchen Layout for Your Home
At Kitchen & More, we offer a seamless kitchen remodeling experience, handling everything from securing permits to sourcing premium materials and building custom kitchen cabinets.
As a full-service design-and-build firm, our team is dedicated to providing you with a stress-free kitchen renovation. We’ll optimize your kitchen’s layout to improve functionality and flow while ensuring every detail aligns with your personal style. Partner with us to create a space that’s truly the heart of your home!
